🚀 Getting started with WordPress & Next.JS
This guide will walk you through the process of setting up a WordPress instance using Local and installing the necessary GraphQL plugins to make it a headless CMS.

What the hell is a headless CMS you ask? 🤔
Traditionally WordPress is a monolithic CMS (Content Management System). This means it entails a front and back end that are tightly coupled. The upside to this is clients usually love the ability to log into a WordPress Dashboard. The downside is it can get sluggish and bloated over time.
In most of our new projects, we use WordPress as a 'headless CMS'. This means we only use the backend (allowing a client to log in and update content), and we build a separate frontend using a JavaScript framework called Next.JS. Whenever we compile the front end, it will fetch all of the data from WordPress and convert it into static HTML files. This makes the site super fast and secure.
🛠️ Installing Local
Local by Flywheel is a free local development environment designed to simplify the workflow of WordPress developers. It allows you to easily create, save, and manage multiple WordPress sites on your local machine. Since spinning up WordPress instances is usually a big aul pain in the ass, this is an incredibly useful tool 🙃 To get started, do the following:
- Visit the Local by Flywheel website.
- Download and install Local for your operating system.
🌐 Creating a New WordPress Site
Once you've installed Local it's very quick n' easy to create a new WordPress website:
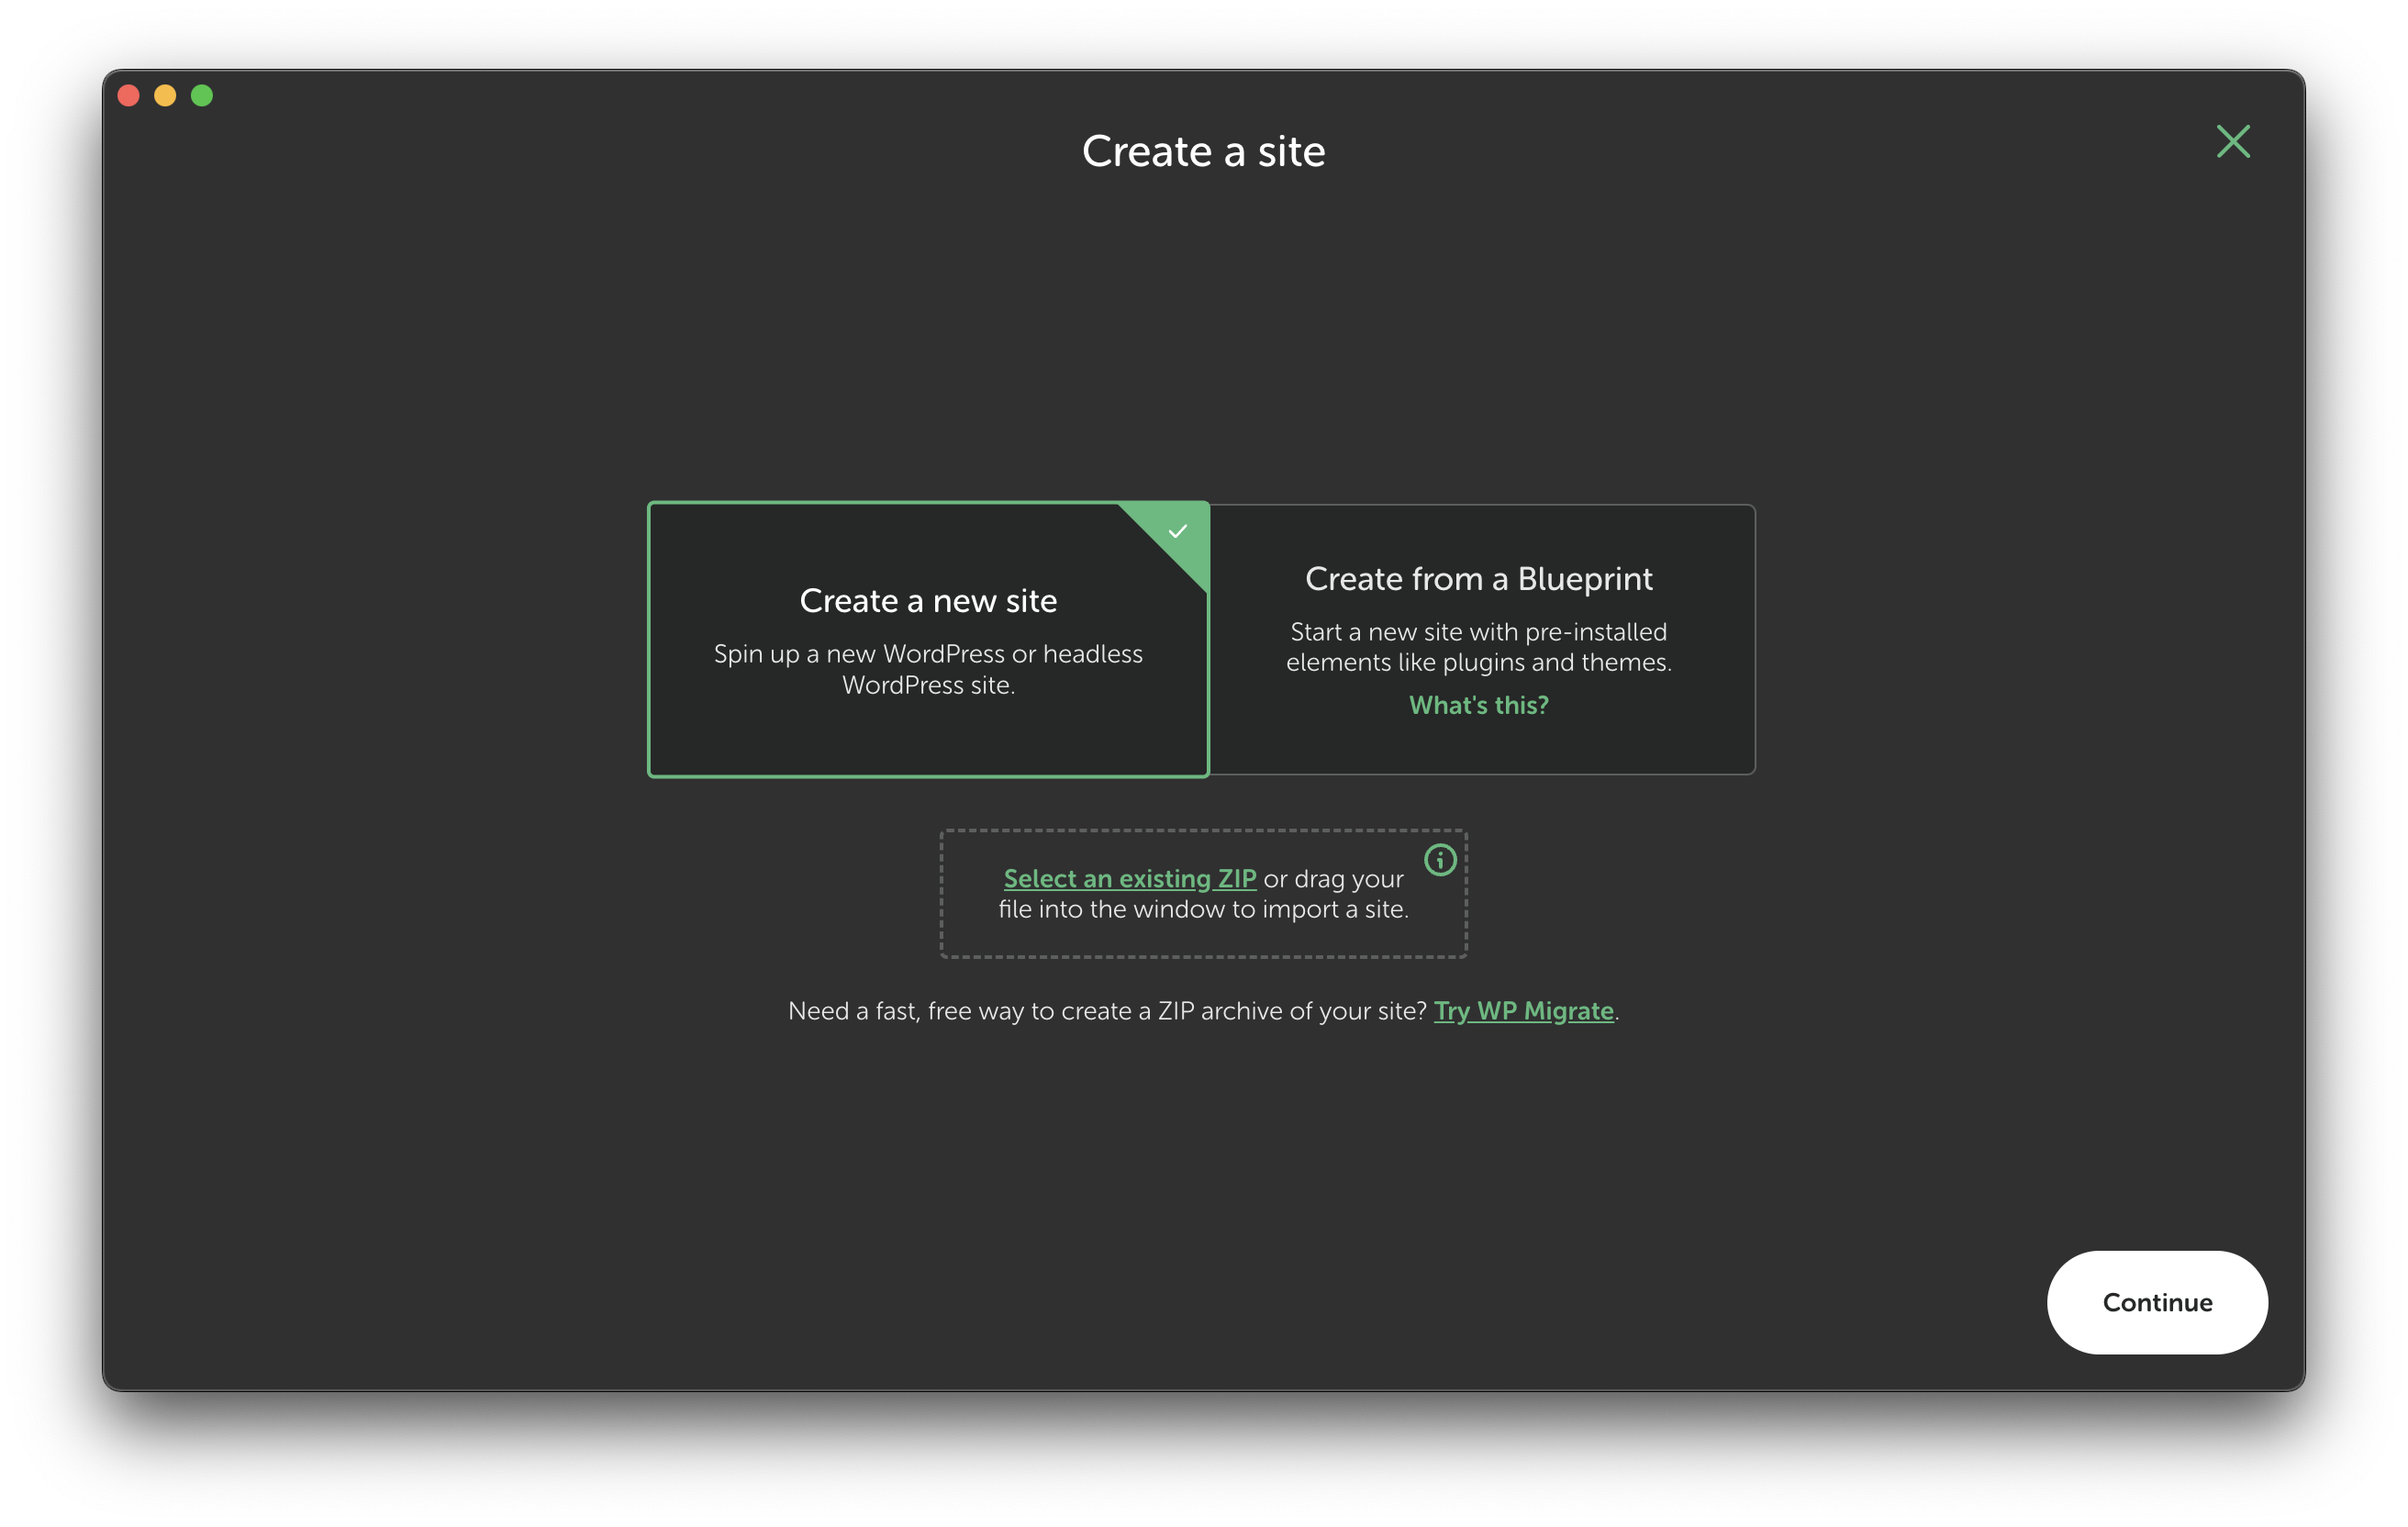
- Open Local and click on "+ Add Local Site".
- Enter your site name and click "Continue".
- Choose your preferred environment and click "Continue" (You can leave these as the default options).
- Set your WordPress username and password (We usually go for
adminandadminin development, just to save time. We'll use better passwords in production I promise 🐴), then click "Add Site" .
Yeehaw 🤠 Your WordPress site is now set up and running locally!
📋 Some features Local offers
📦 AdminerEvo
Local offers a few nice features that can make development a bit easier. For example, the Database tab has an option called Open AdminerEvo.
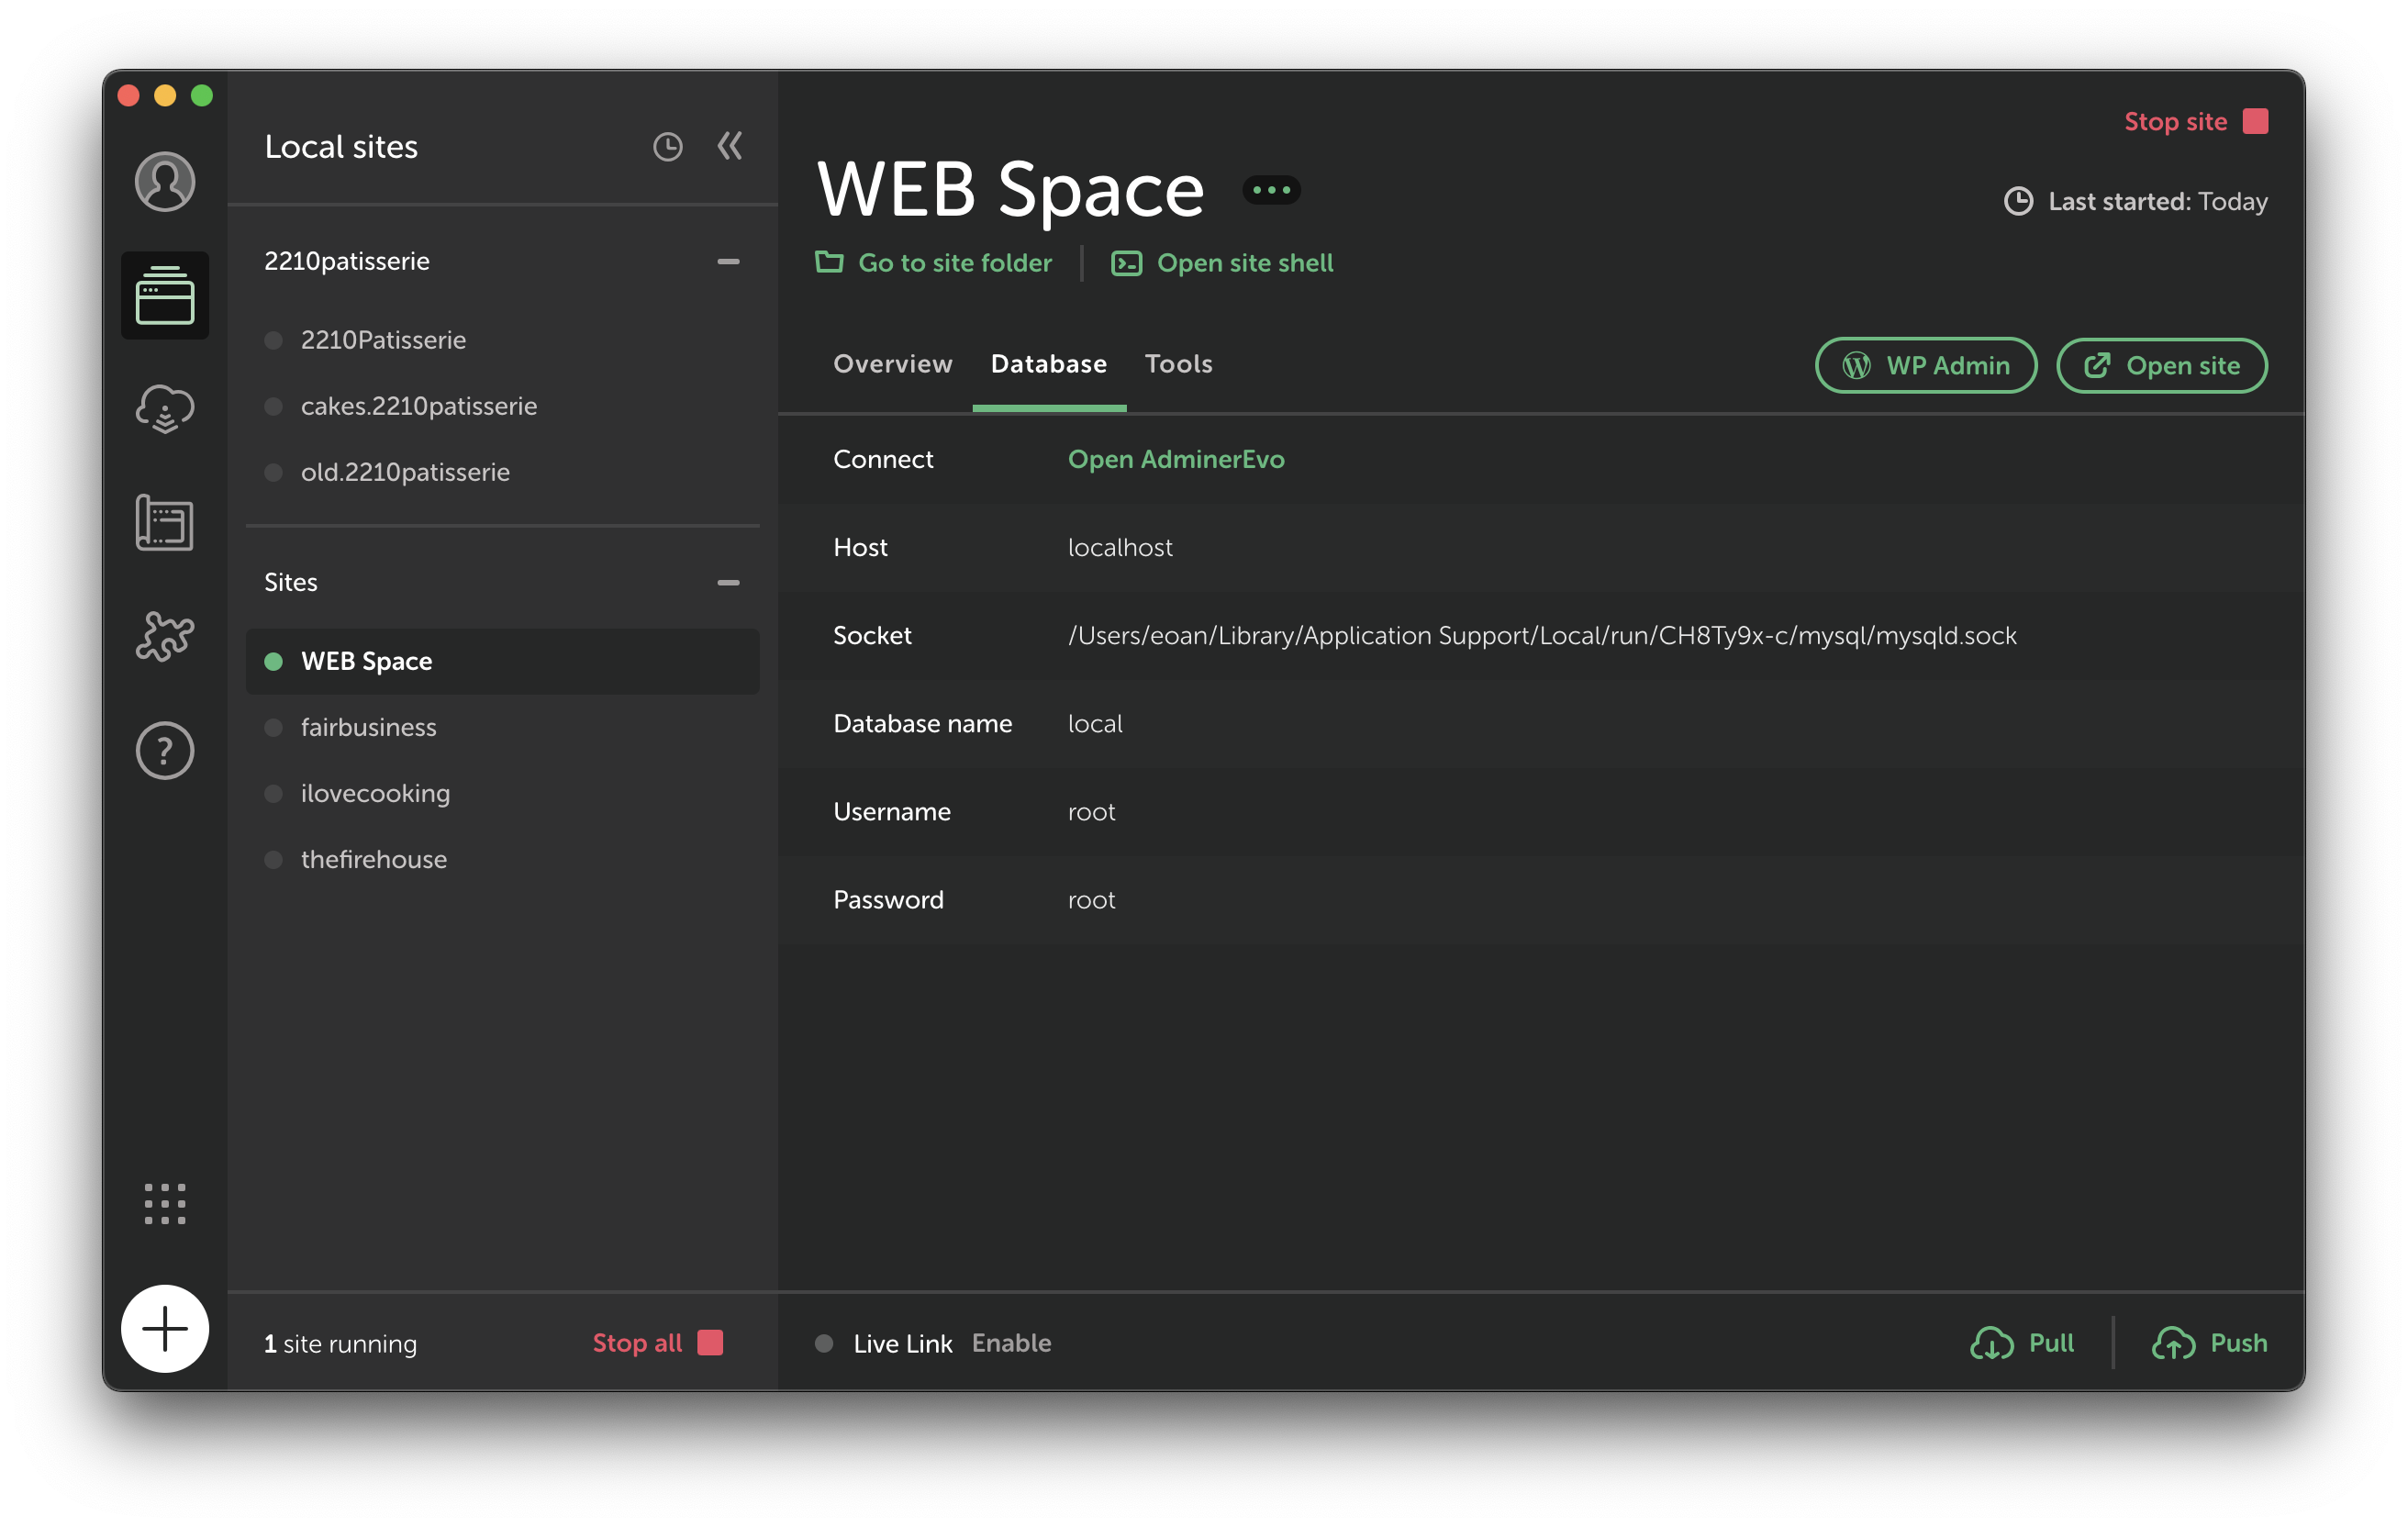
This allows us to open a website where we can view all the data in our database
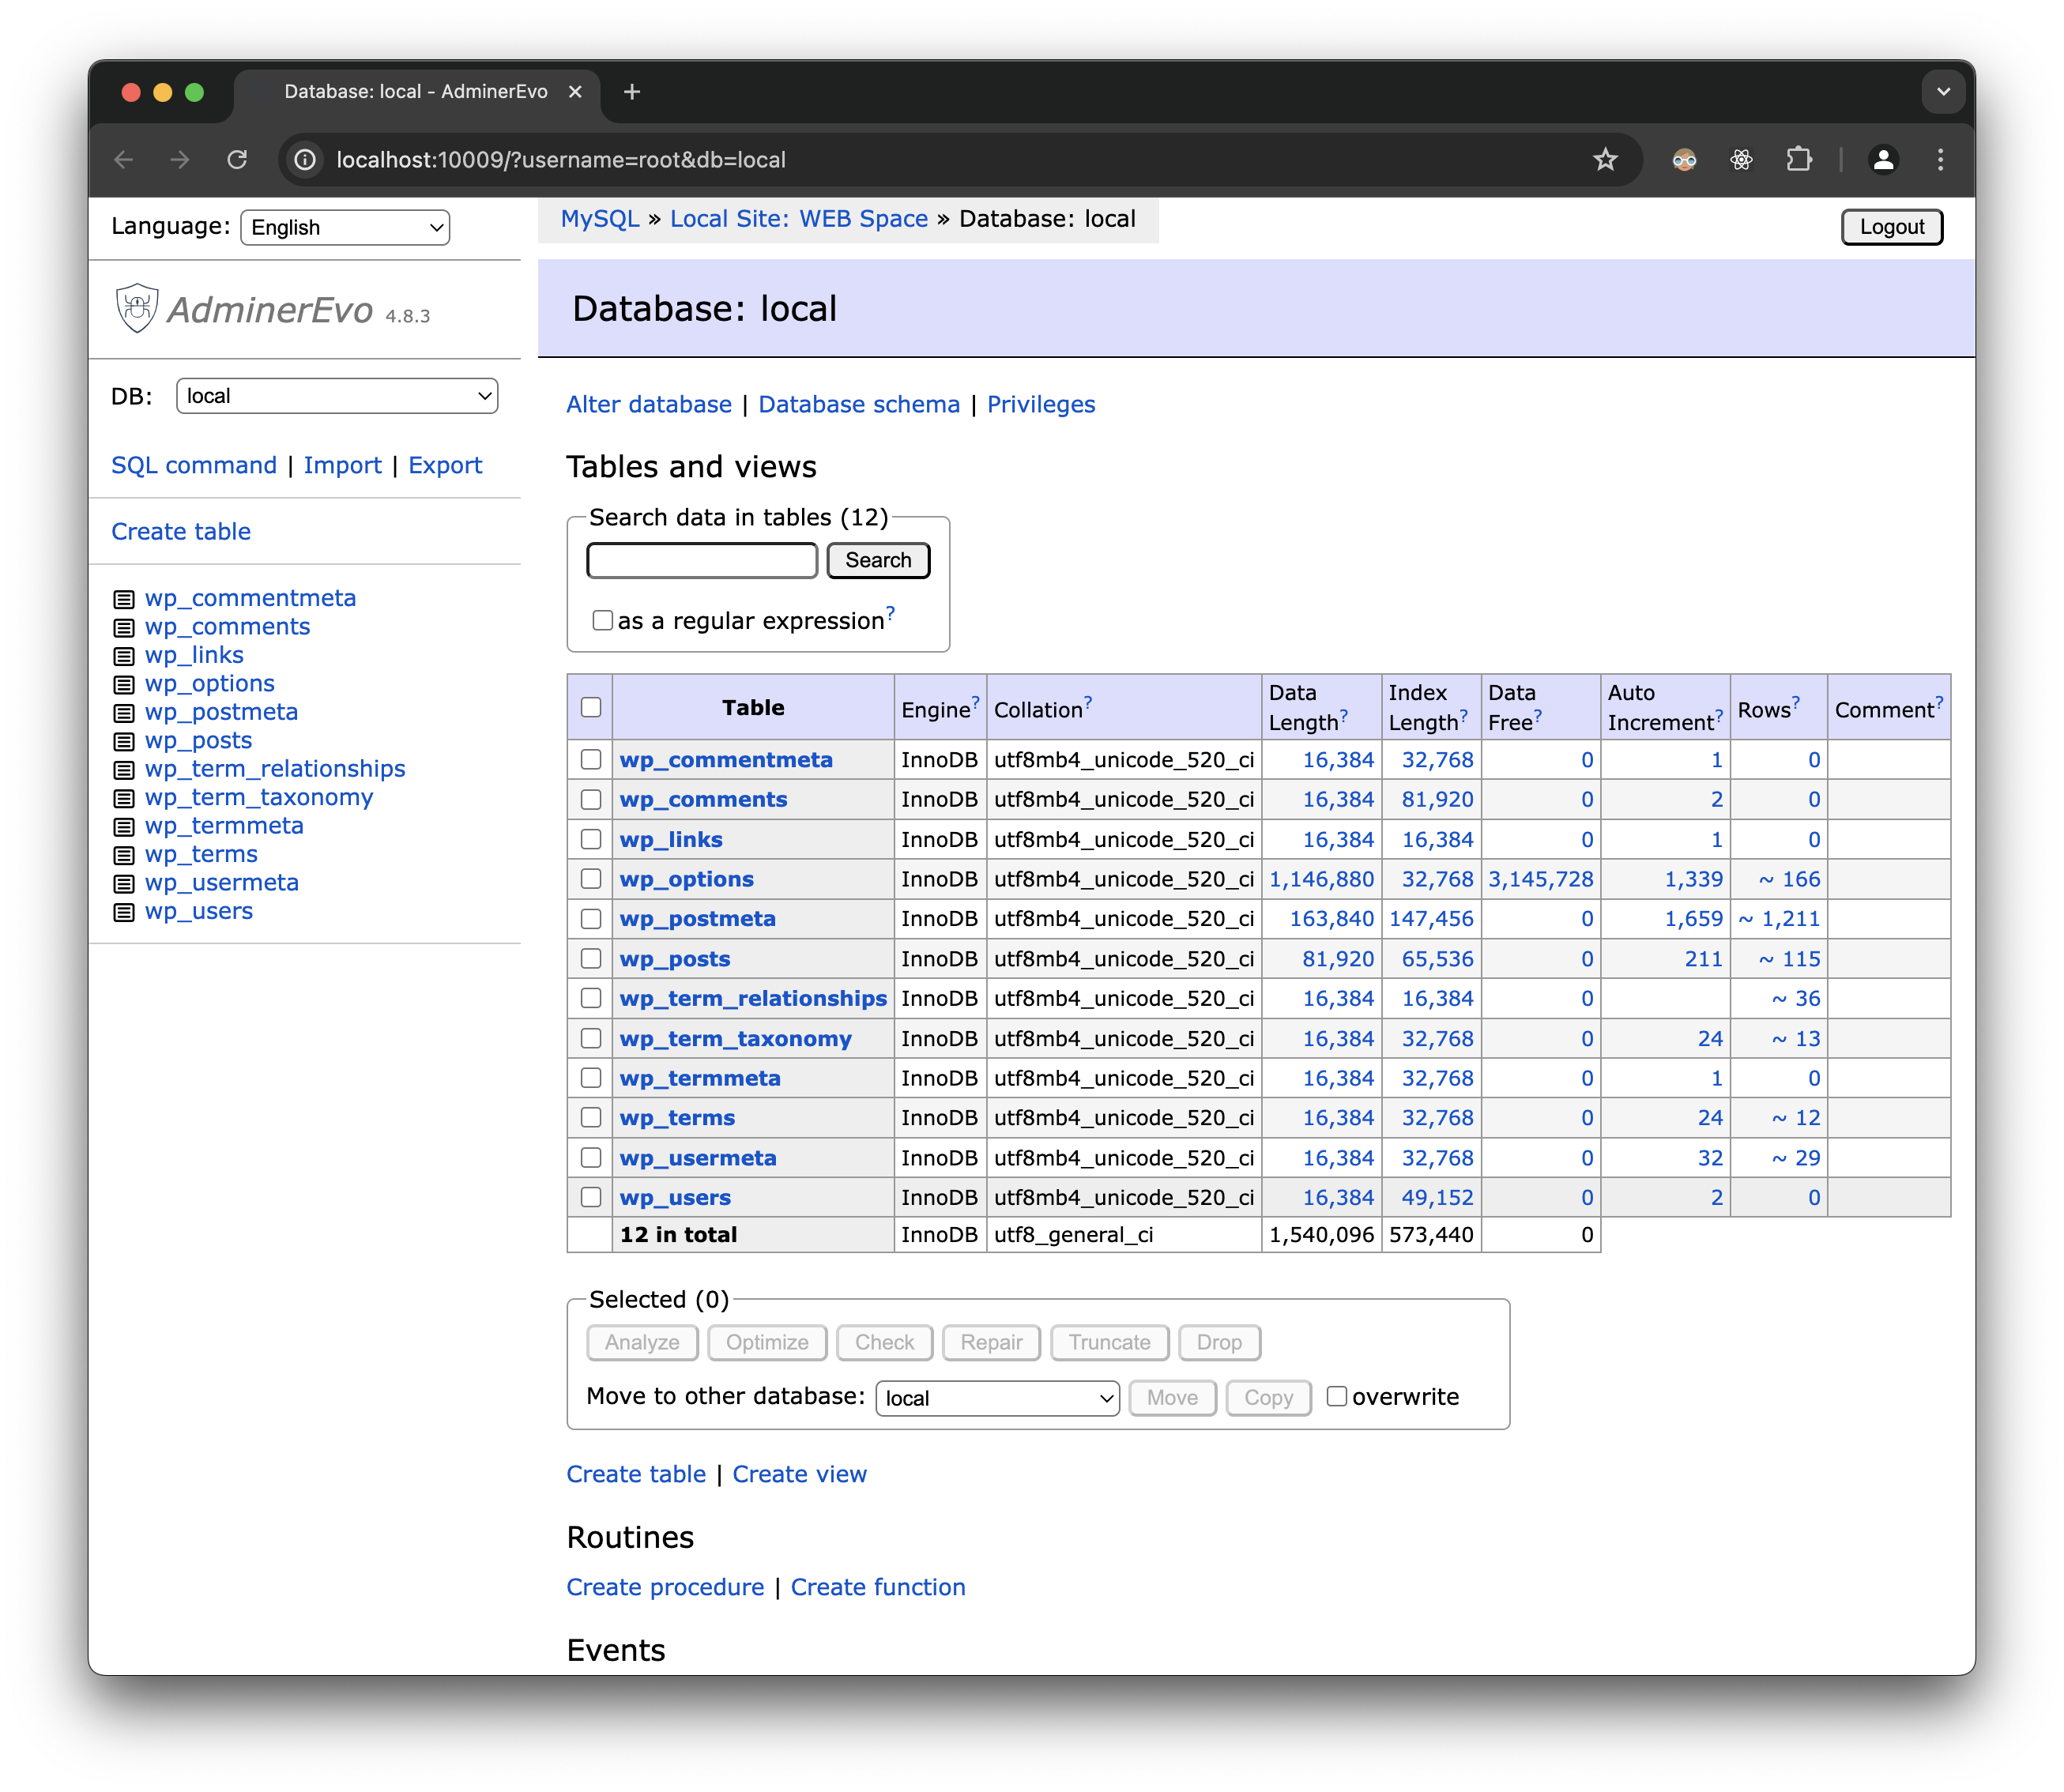
Here you can view all the tables in the database, and you can also run SQL queries. This is useful if you need see / debug some data (usually if you're developing on the WordPress side)
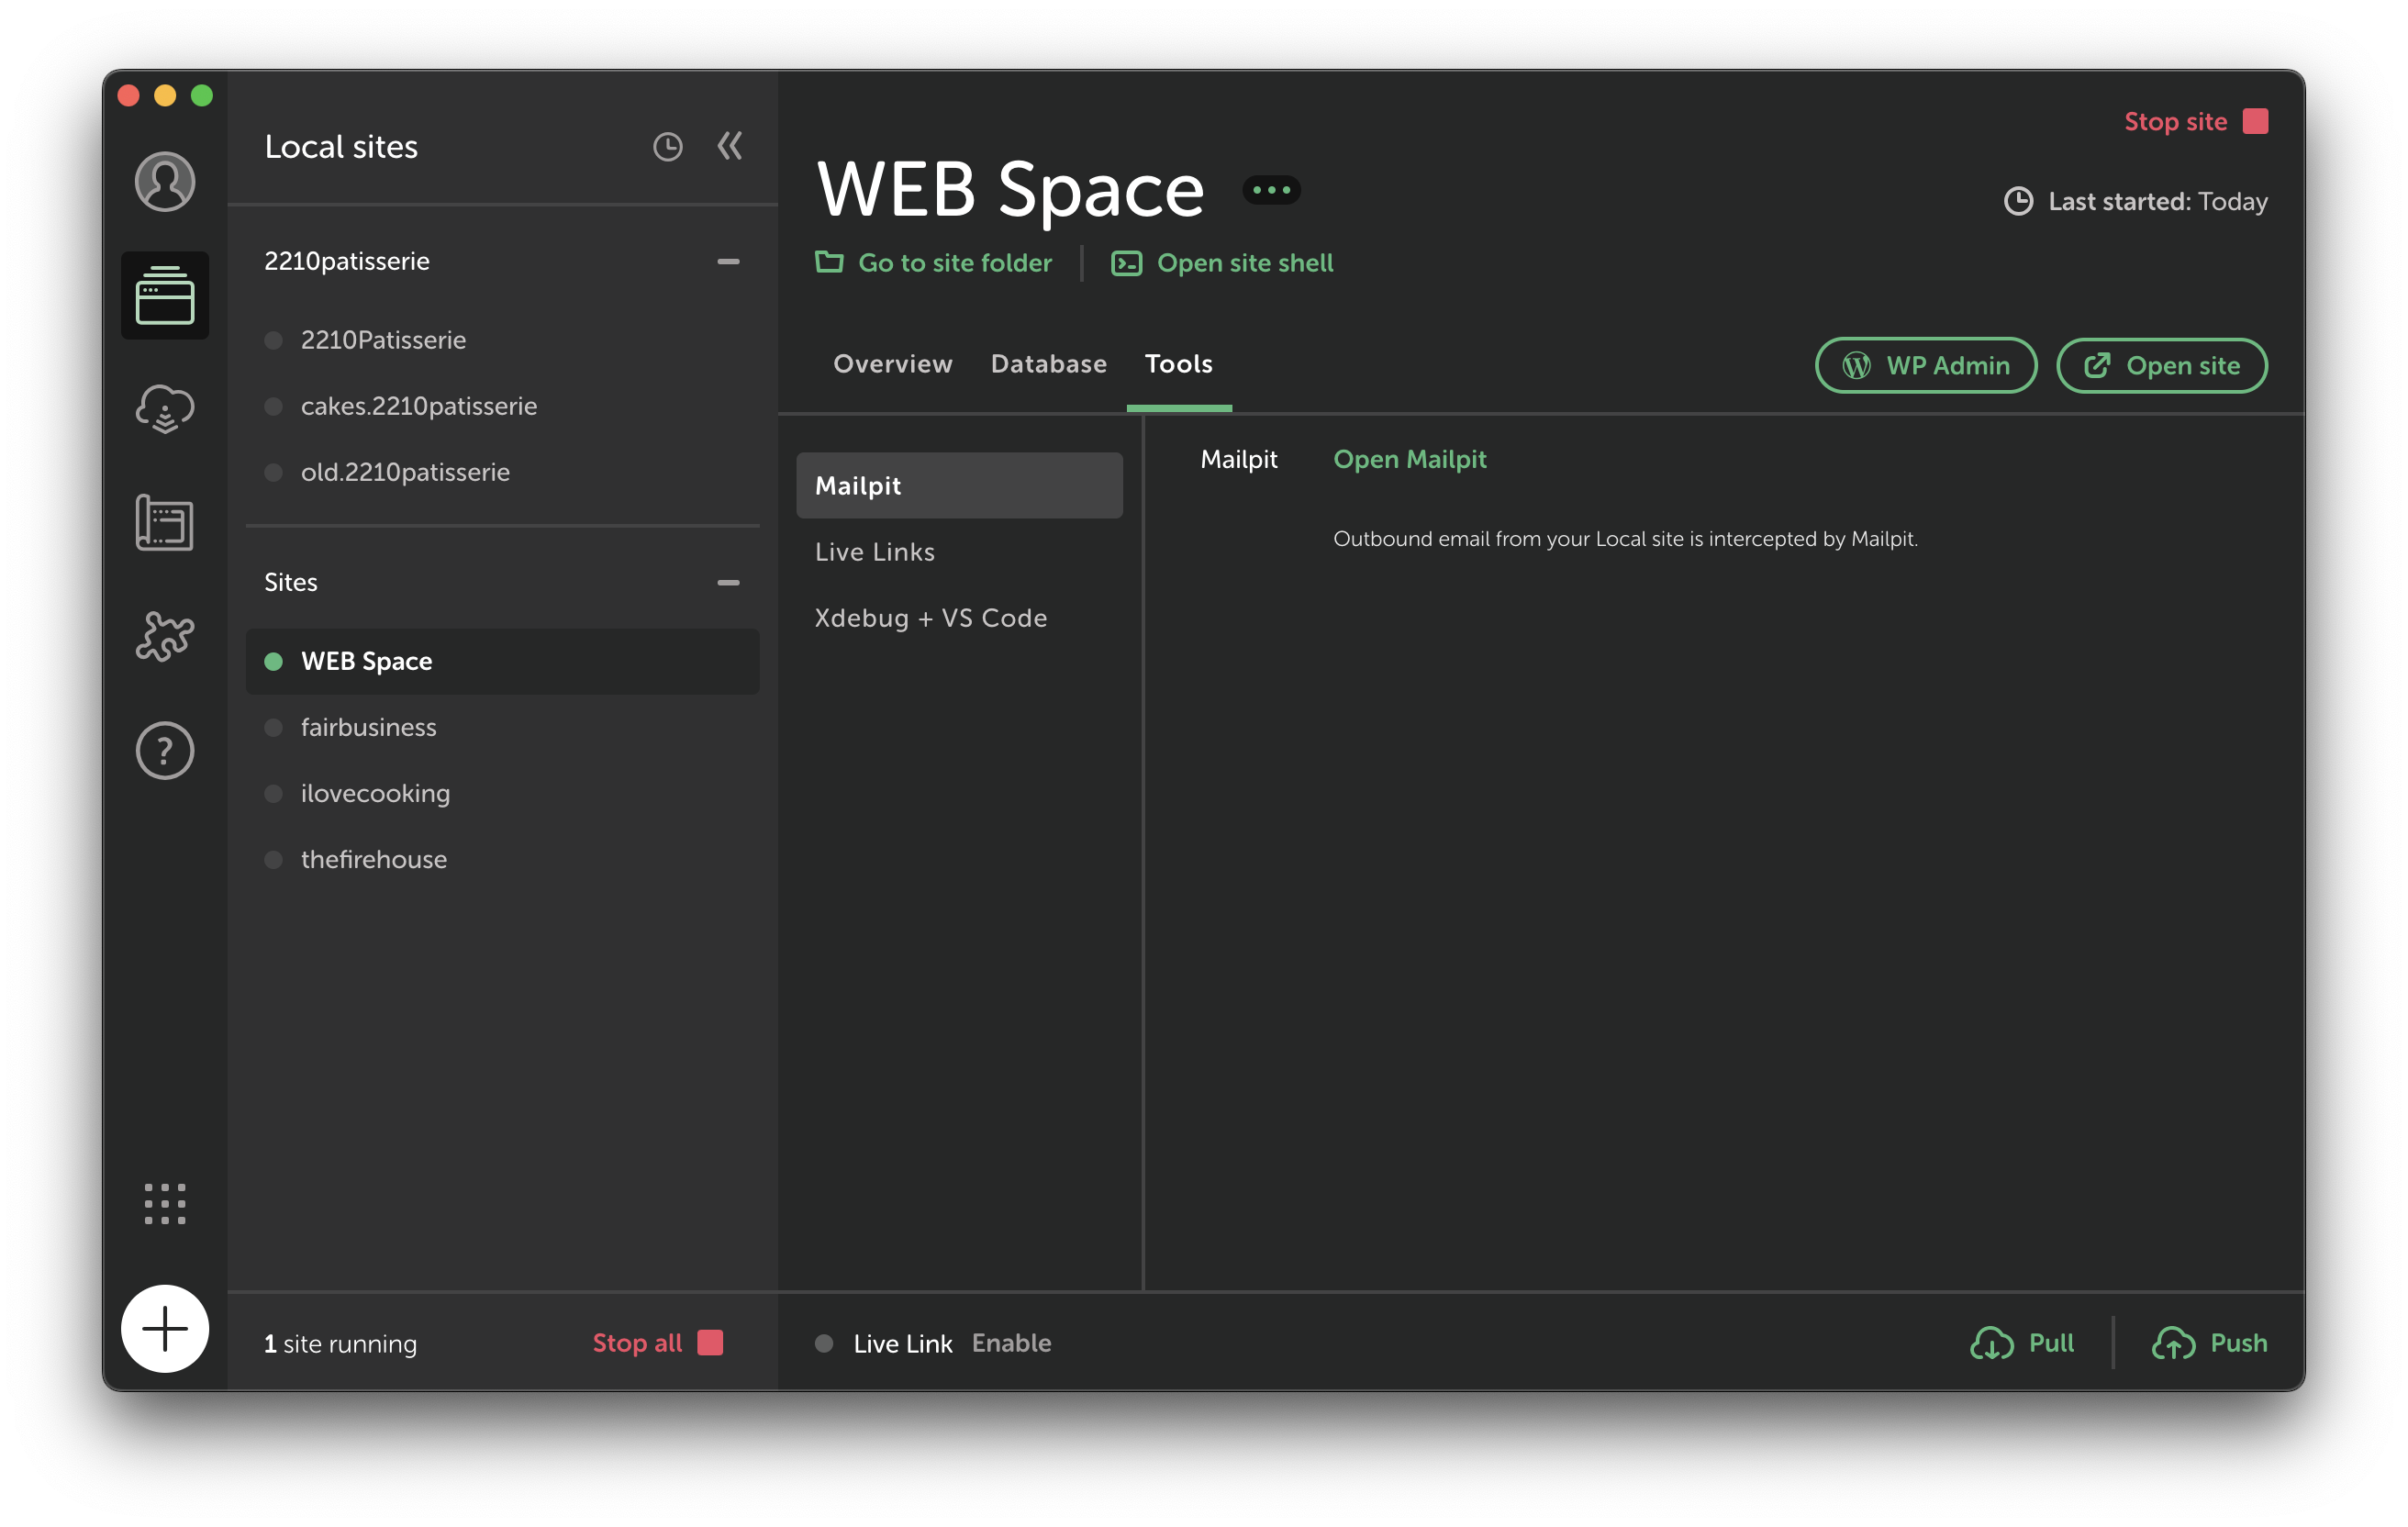
✉️ MailPit
Local also has a feature called MailPit. This is a tool that captures all the emails that are sent from your WordPress site. This is useful if you're testing email functionality on your site.
🏗️ The WordPress Architecture
WordPress is essentially an engine that we can build upon using themes and plugins. A theme is the front end of the site, and a plugin is a piece of software that can be added to WordPress to extend its functionality.
It also contains various post types (e.g. posts, pages, media, etc.), taxonomies (e.g. categories, tags, etc.), and custom fields (e.g. Advanced Custom Fields). We can use or extend these to build a custom site. For example, for ilovecooking.ie, we created various post types:
- Recipes (A full recipe e.g. One Pan Pesto Salmon)
- Ingredients (A list of ingredients e.g. 1 salmon fillet)
- Recipe Types (A category of recipes e.g. Dinner)
These post types can be associated with each other.
If you wanted to clone one of our existing WordPress sites, you would need a database dump and a .zip file that you can directly import into Local. We usually will keep the theme as a GitHub repository, which is always located in the wp-content/themes directory.
If you are on Windows and hate your life, you will see we have some issues with connecting Next.JS and WordPress. So usually we have a deployed dev server WordPress instance which you can use.
🚀 Setting Up a WordPress Instance Using Local
So, let's set up a WordPress / Next.JS environment. We'll use the new WebSpace website as an example.
- Next.JS Frontend: https://github.com/web-space-dev/web-space.ie
- WordPress Theme: https://github.com/web-space-dev/webspace.ie-backend
We'll assume you've been given a full .zip file of the WordPress instance. Take that .zip file and import it into Local, and keep all the default settings.
Once complete, you should have a new website on Local.
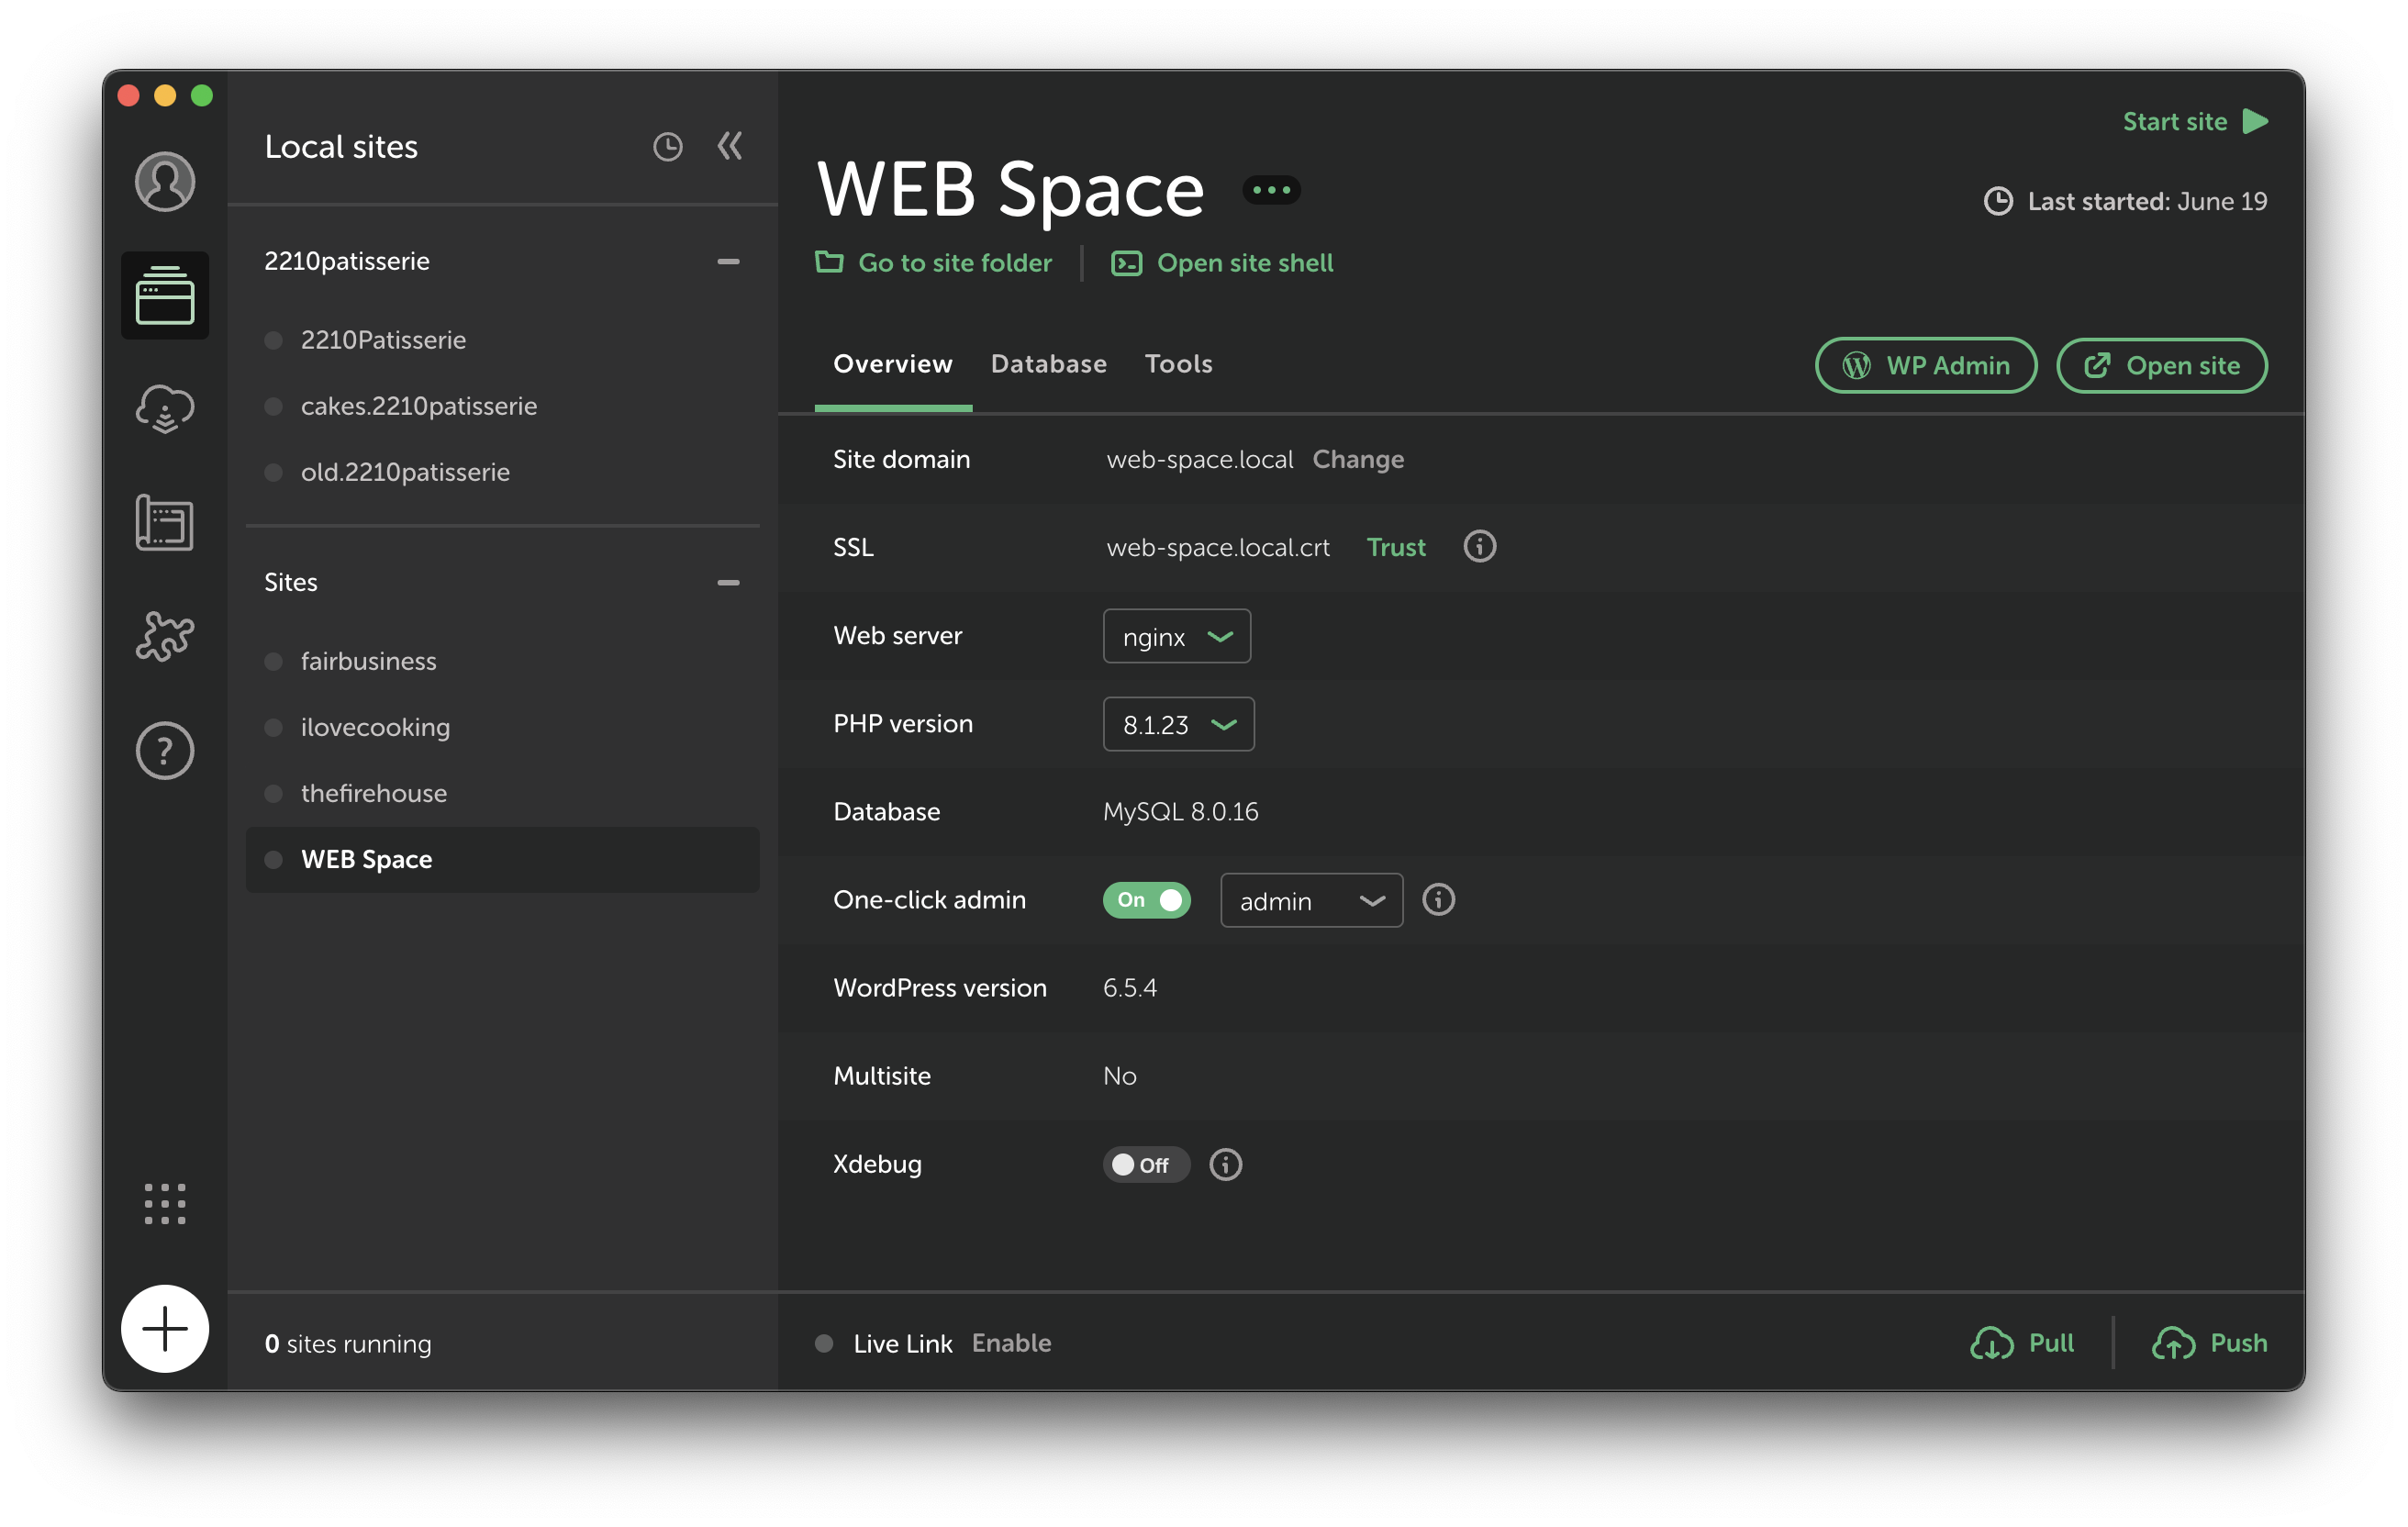
You can go ahead and click Start site up the top right, and that will start that WordPress instance (it needs to be running for Next.js to work)
Once the website has started, click WP Admin which should bring you to the Admin dashboard (Also make sure you have One-click admin checked in the screenshot above, this lets you skip the login).
This will bring you onto a page that looks like this
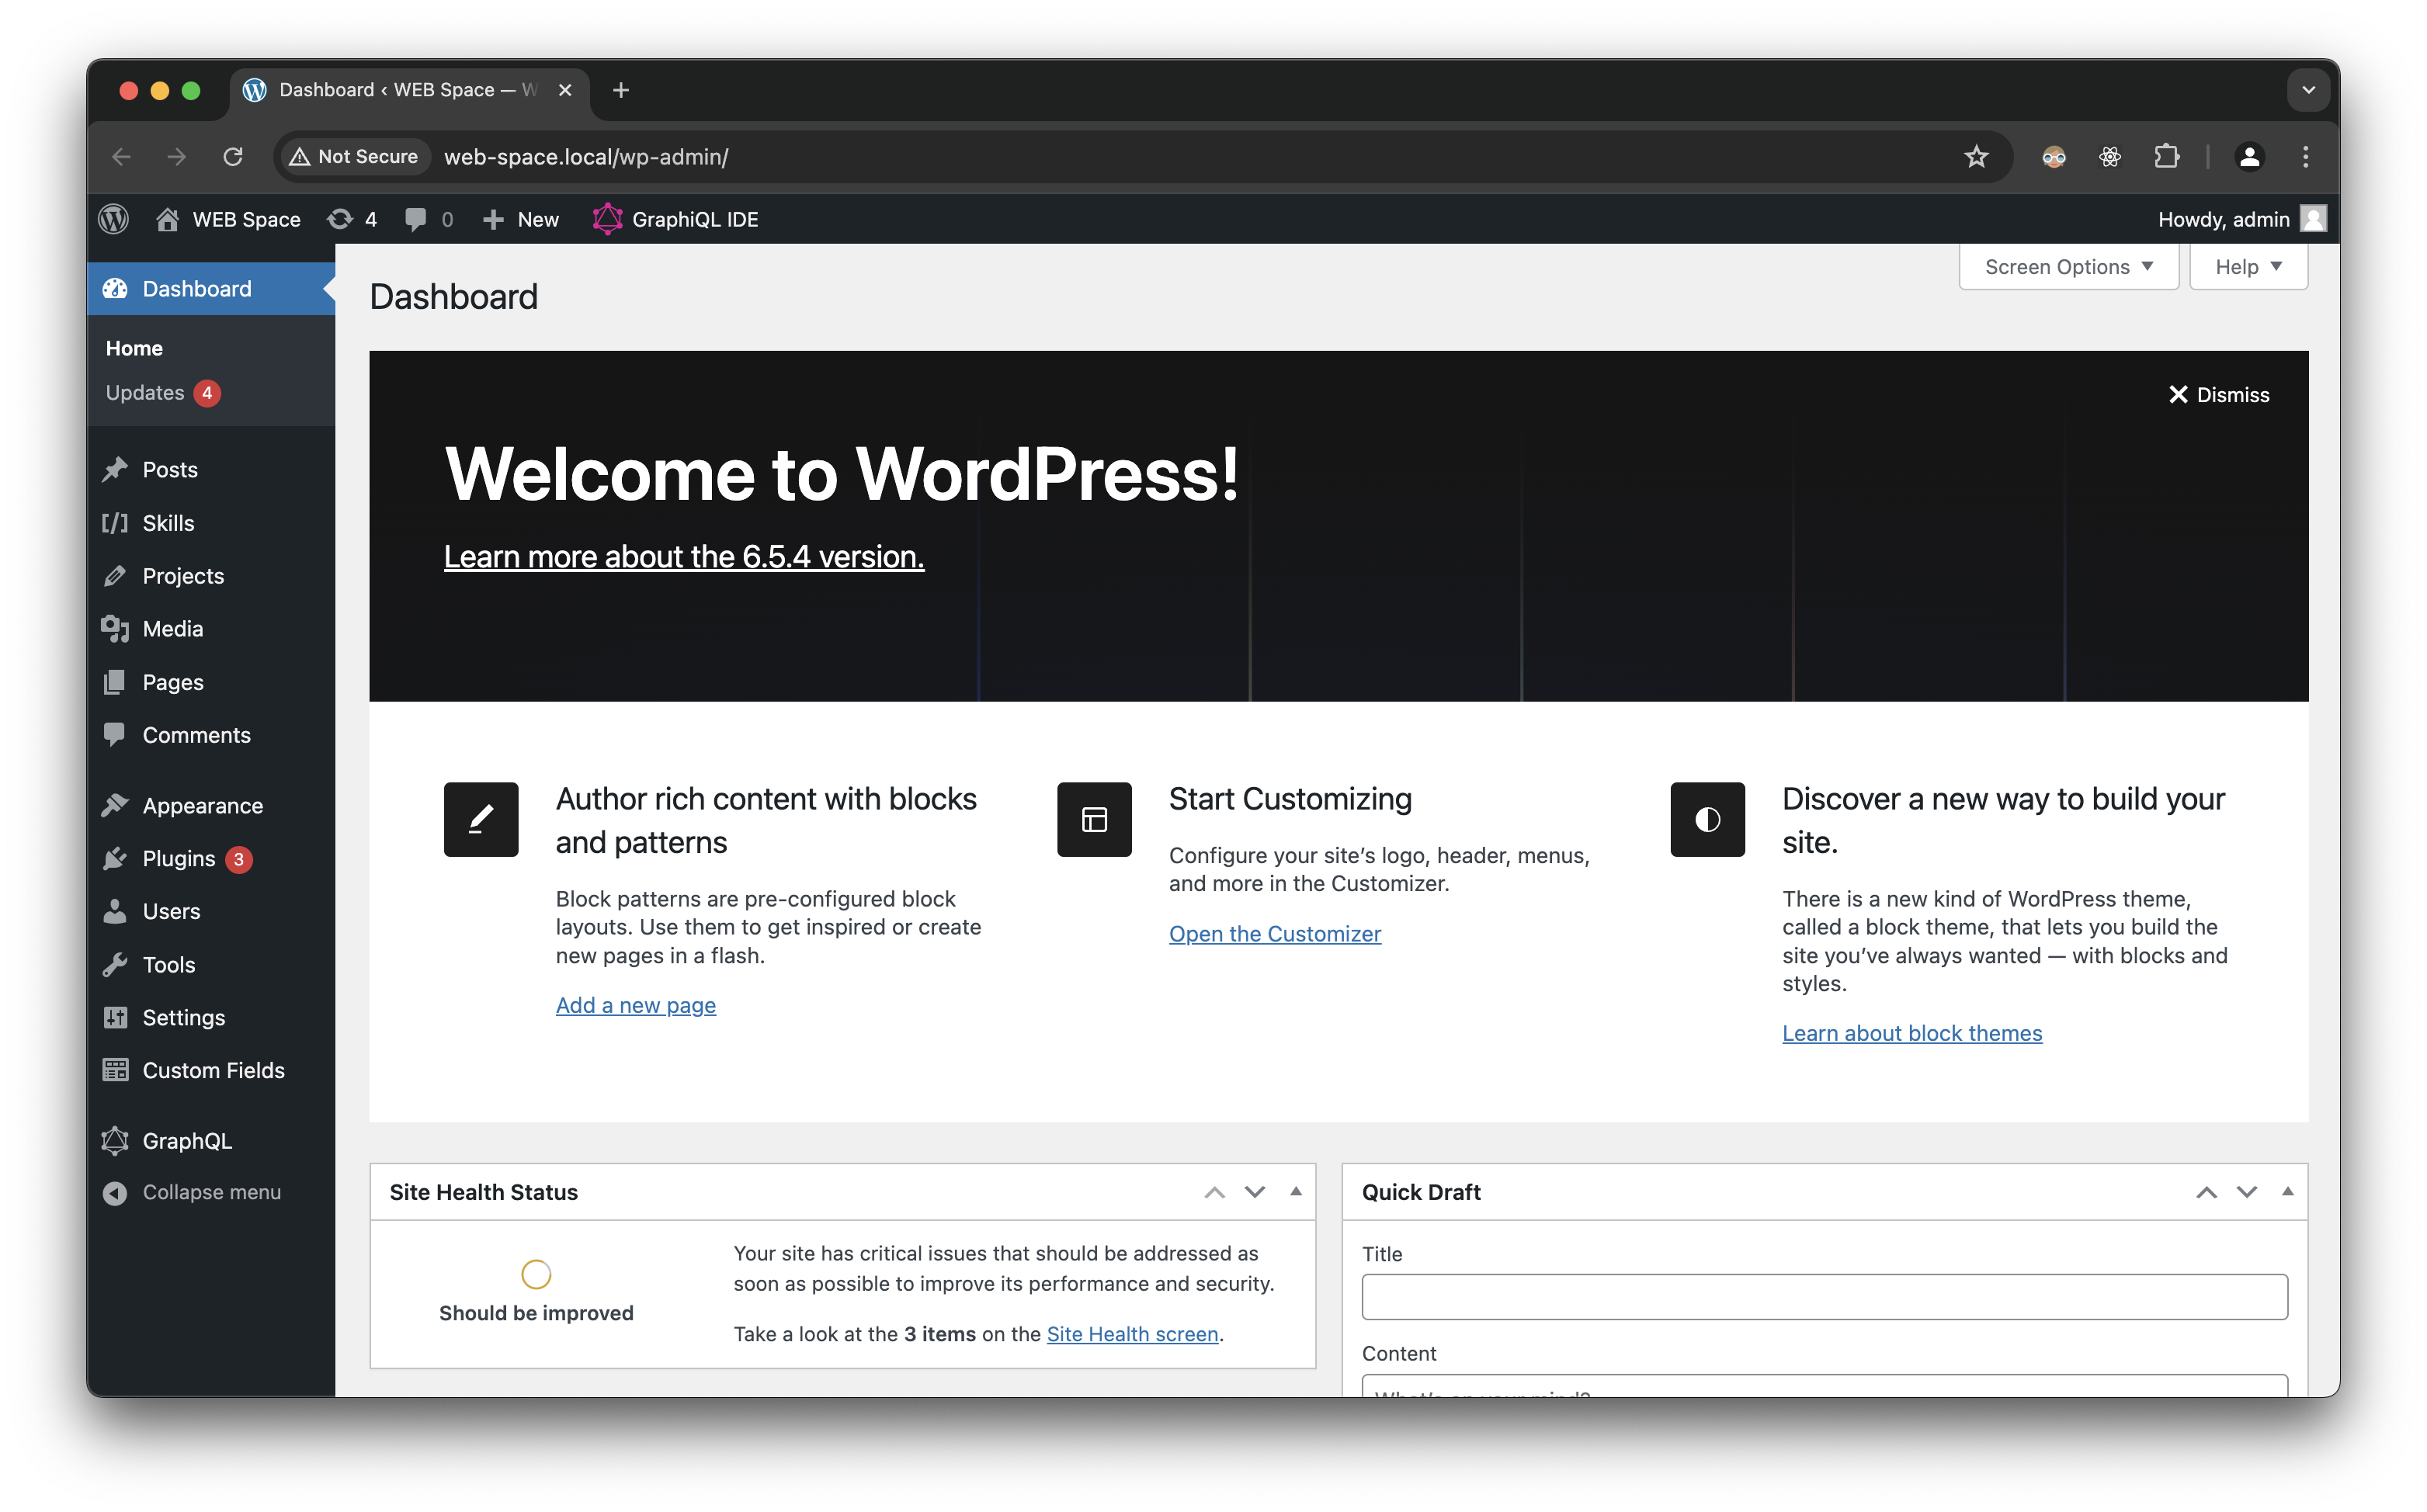
This is what the client will use to update content in the future, they will be able to add new projects or create new pages.
On this website, we have the following plugins installed:
- Advanced Custom Fields
- Advanced Custom Fields PRO
- WPGraphQL
- WPGraphQL for ACF
WPGraphQL and WPGraphQL for ACF are two plugins that enable GraphQL on our website. This is equivalent to an API, which Next.JS will use to fetch the data from our website.
Advanced Custom Fields and Advanced Custom Fields PRO allow us to easily extend our posts with different fields
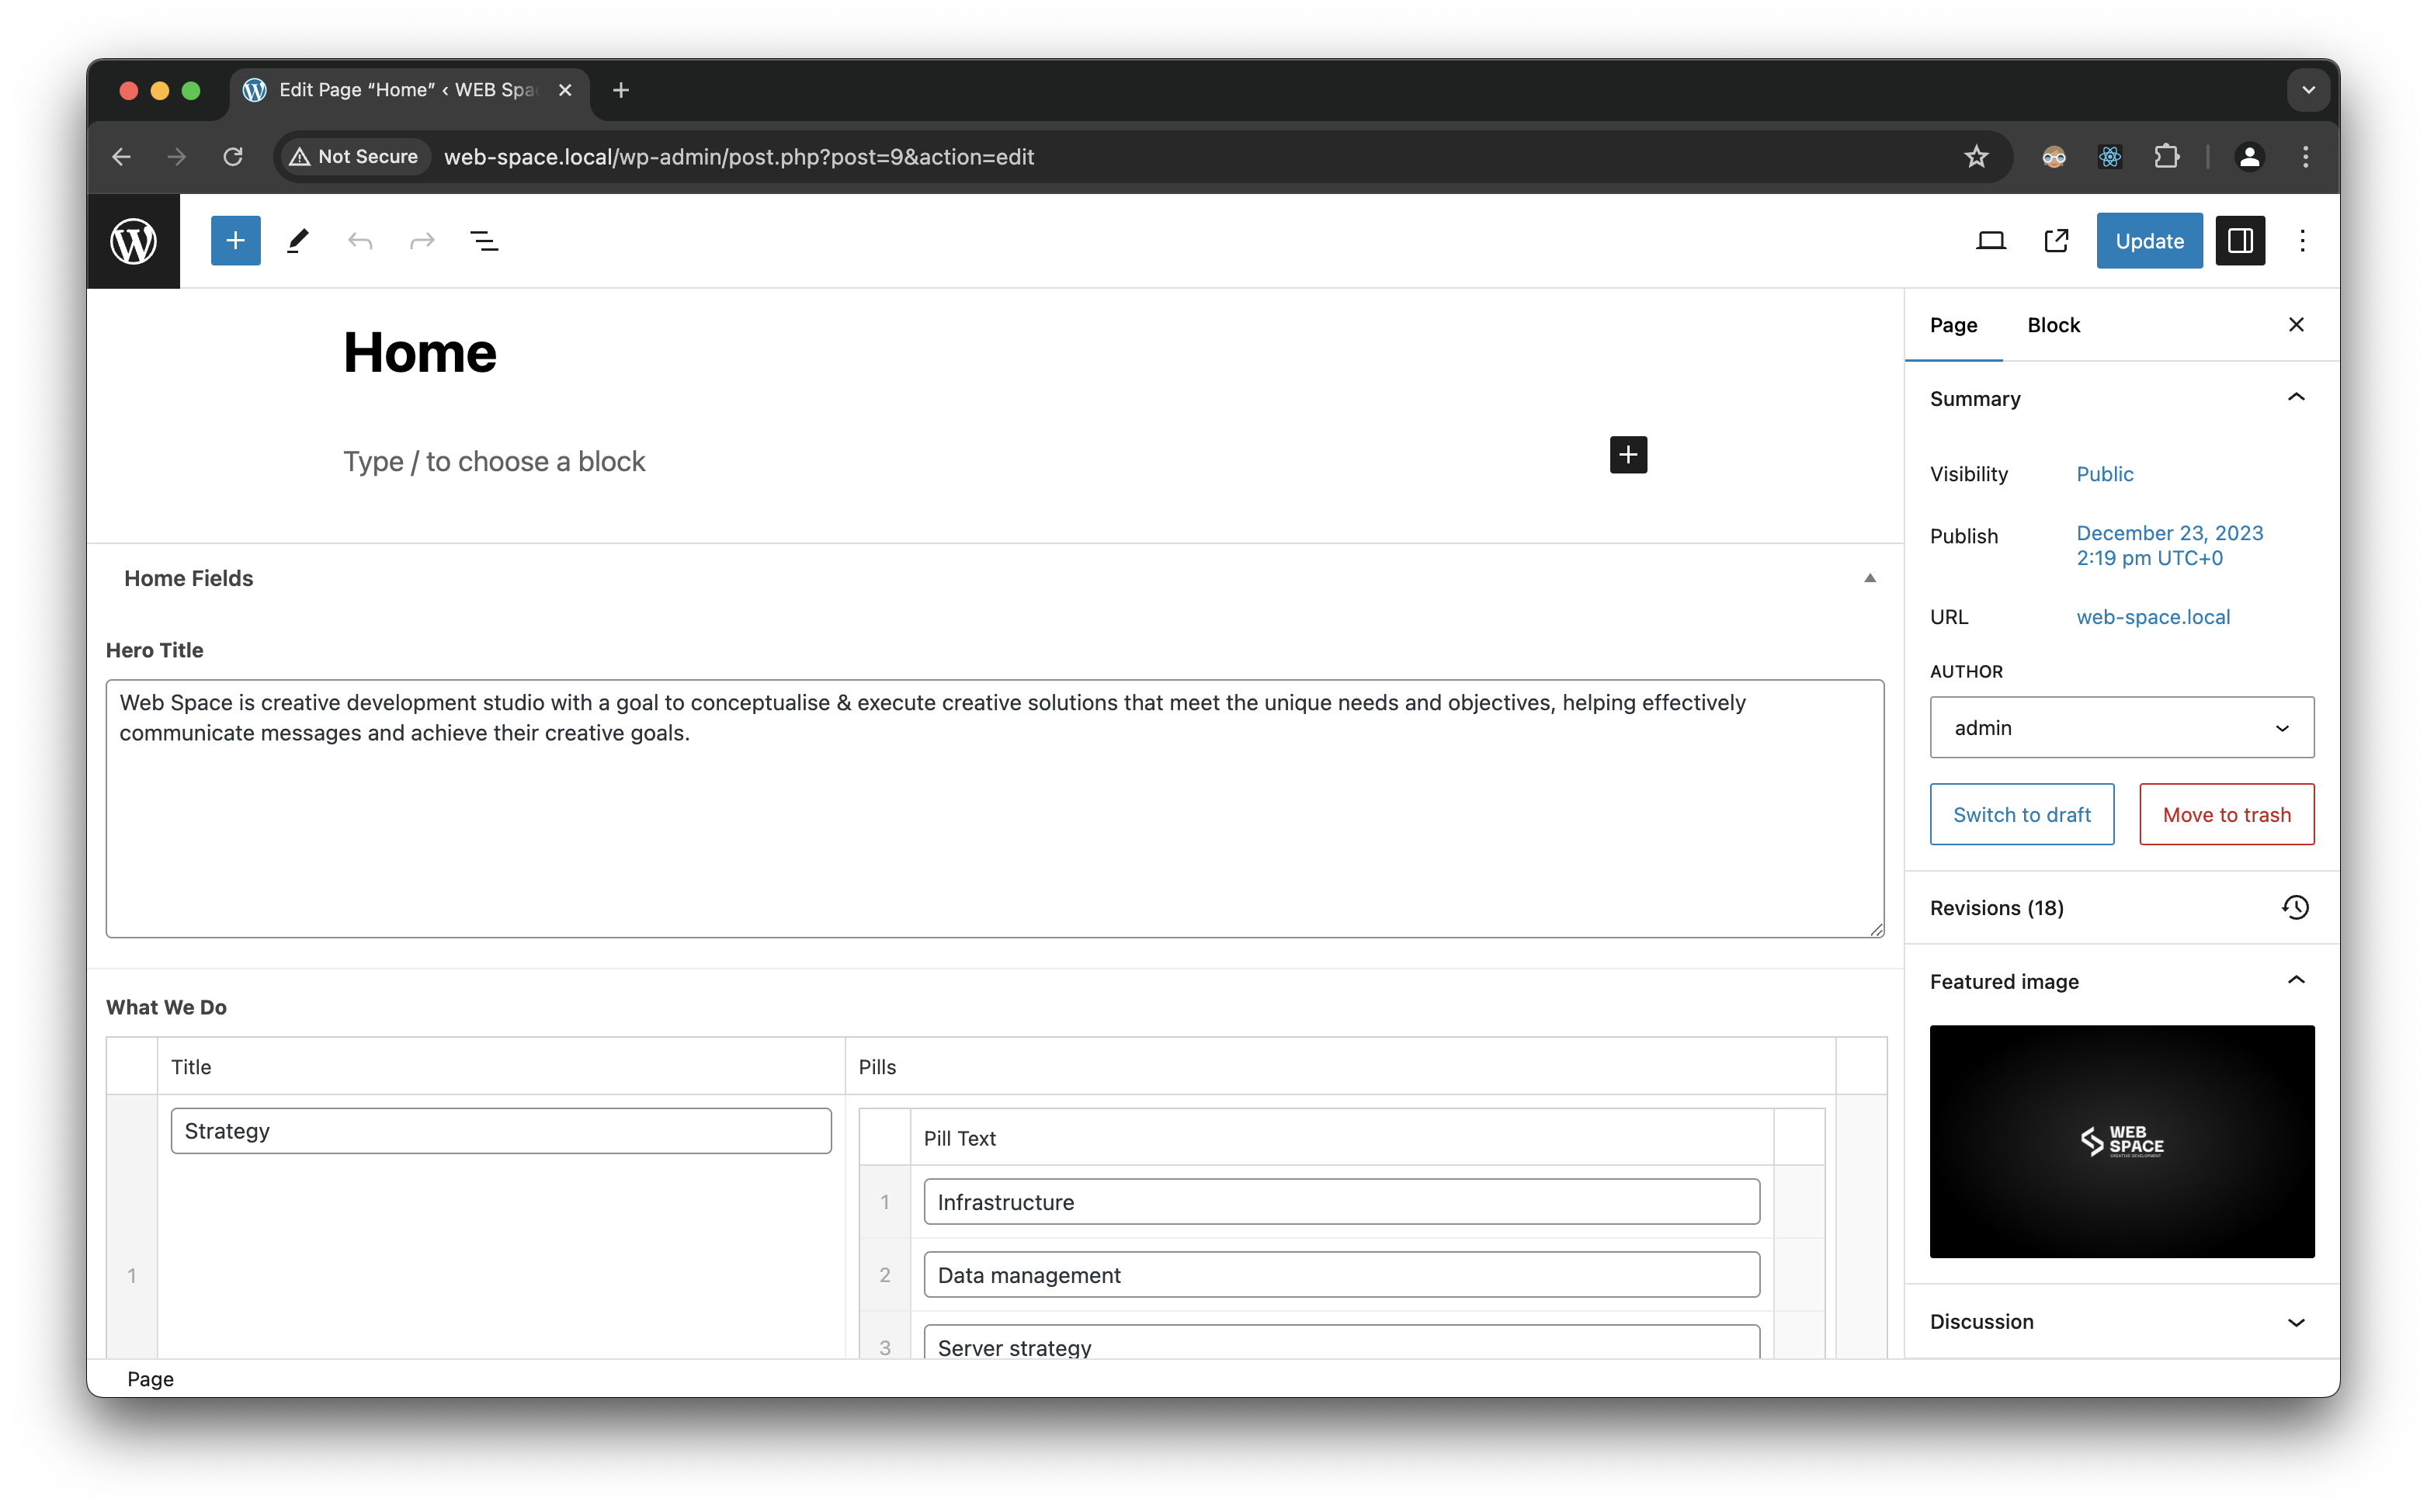
E.g. On the homepage we have all these custom fields, the data will be used from those fields on our frontend.
🪐 Setting up Next.JS
The front end of the website is built using Next.JS. This is a React framework that allows us to build static websites. The front end of the website is located in the web-space.ie repository.
You can clone the repository by running
gh repo clone web-space-dev/web-space.ie
The frontend requires a specific version of Node.js, so you need to make sure you have NVM installed, this allows you to switch node versions easily.
We will always keep the specified version in the README.md, so for this project, we need Node version 18.17.0. Switch to that version by running
nvm use 18.17.0
Now we can start installing dependencies. Run
npm install
Now need to make a copy of the .env.example file, this is where we will keep any private information. Run
cp .env.example .env.local
Within the .env.local we should have a WORDPRESS_API_URL, just double-check that it is correct. It should be http://your_wordpress_url/graphql (e.g. http://web-space.local/graphql)
Once that's done, you should be able to run the development server by running
npm run dev
Presuming nothing went wrong along the way, you should be able to visit http://localhost:3000 and see the website running.
Et voilà! 🥖🇫🇷 You now have a WordPress instance running locally, and a Next.JS frontend that is fetching data from that WordPress instance.